Adhesives Tapes Glue & Epoxy
Arrow Cleaning

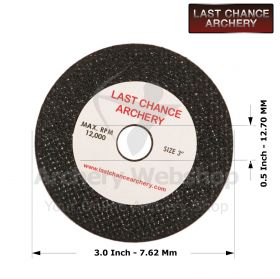
Arrow Cut-Off Saws & Parts

Arrow Spinetesters & Straightners

Feather Cutters & Treatment

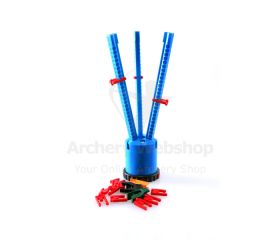
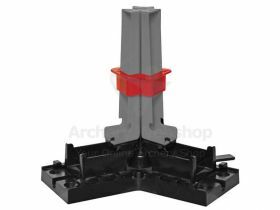
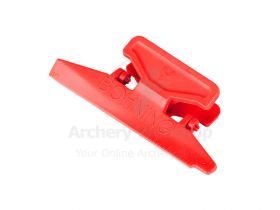
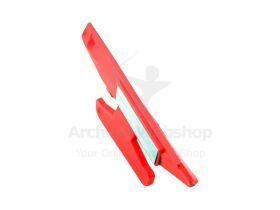
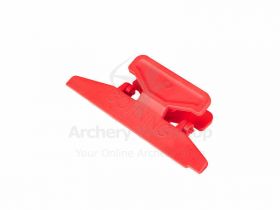
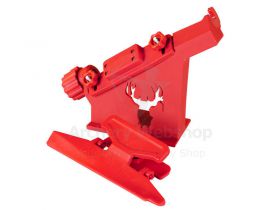
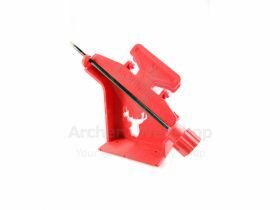
Fletching Jigs and Accessories

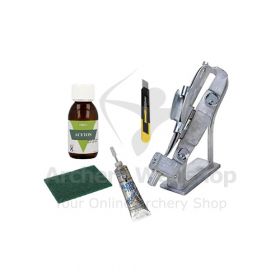
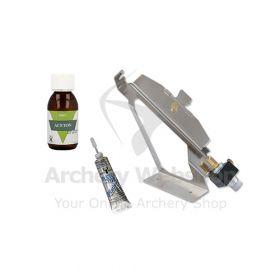
Fletching Packages
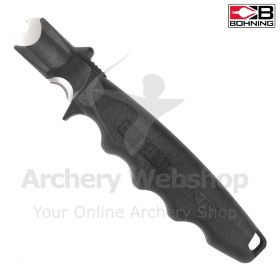
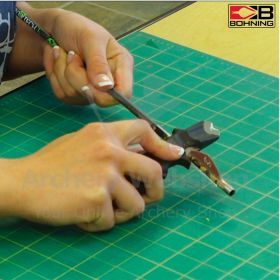
Tools